Files & Folders
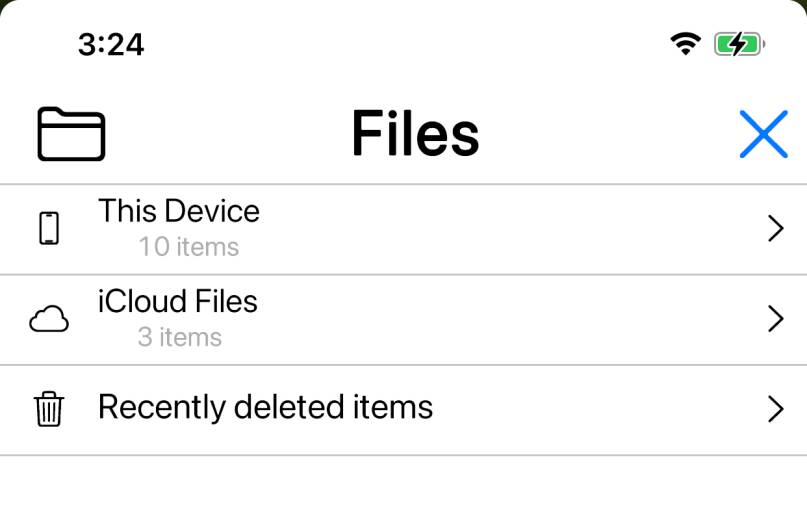
Your waypoints, tracks and routes are organized into files, and these files are
organized into folders and sub-folders. Tap the
button to browse these in the Files screen. This shows the hierarchy of folders, files
and the content of the files; tap on the ![]() and
and
![]() buttons to move around.
buttons to move around.
 and
and
 buttons to move around.
Initially the Files screen shows three top-level folders: This Device, iCloud Files,
and Recently deleted items.
Local vs. iCloud files
Your files can be stored either locally on the device, or in iCloud. You need
to choose which to use for each file. If you have multiple devices then iCloud files
are accessible from all of them and are kept synchronized if the devices have an
internet connection. Local “on this device” files are not synchronized in this way.
iCloud also provides a form of backup, i.e. your files are not lost if your device is
damaged or stolen, and they may be preserved if you delete and re-install the app,
but it does not guard against unintentional deletion.
Files and Folders
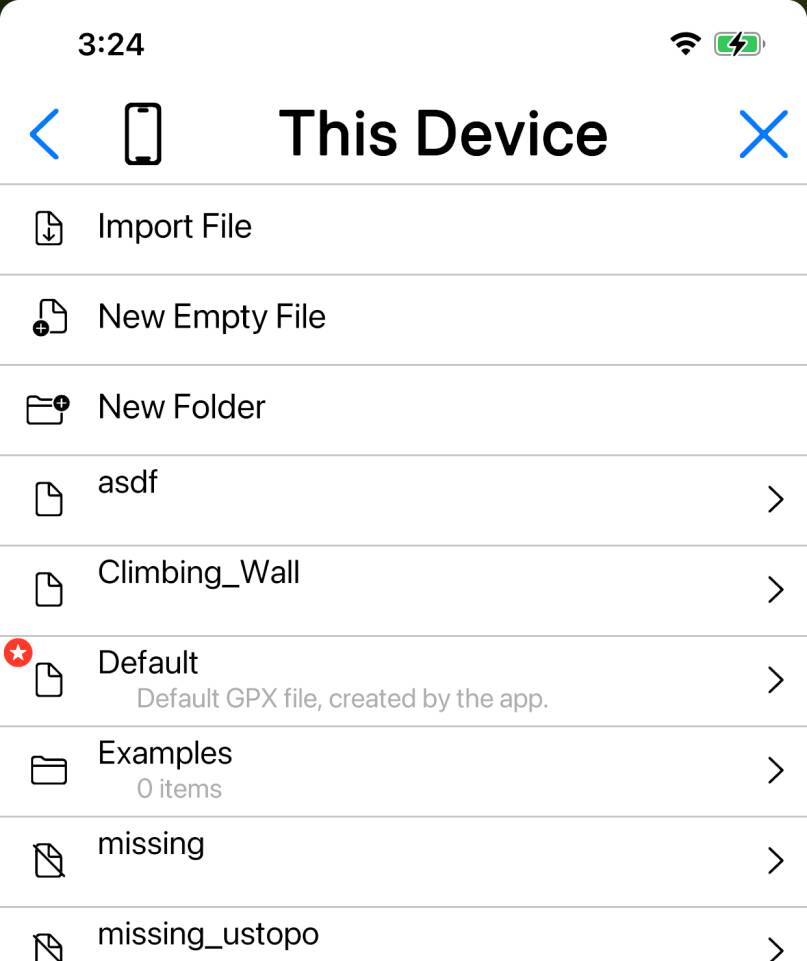
Tap on one of the top-level folders to view its contents - which will initially be
empty, apart perhaps from a Default file created by the app.
Note the buttons to create new folders and files,
and . This example shows a number of files and folders
that have been created. The files with a diagonal line through their symbol are
currently hidden. The file with a red star next to it is the current default file
for new items.
Consider creating new files or folders for each trip, for different locations, or
for different types of activity. It’s preferable not to have huge files with lots
of items.
In particular note that importing and exporting (described below) is done at the
level of files, not individual waypoints, tracks or routes. The same is true of
showing and hiding.
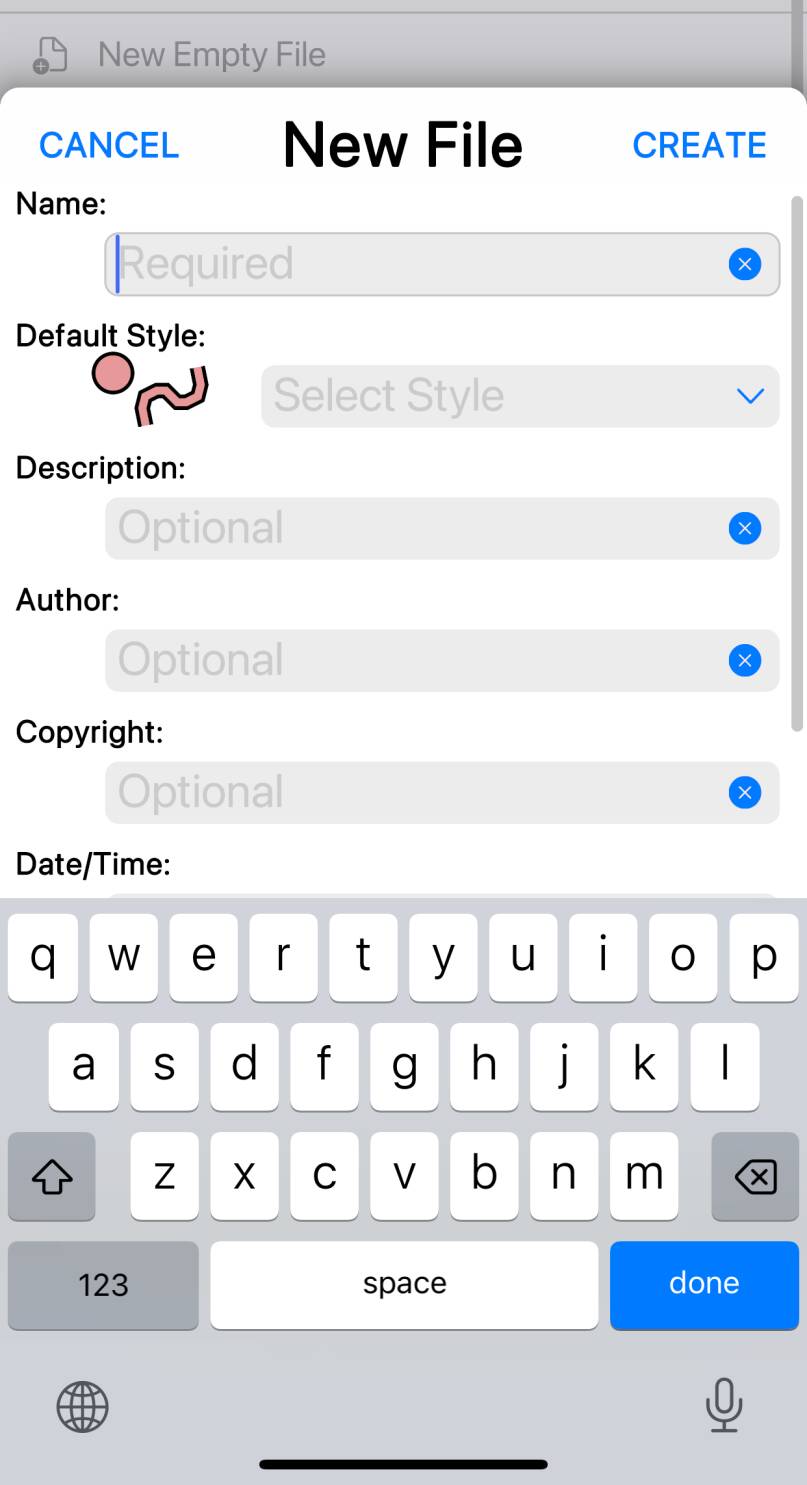
When you create a new folder, you simply need to give it a name. Files have additional
optional metadata including a description and default style that you can set when
creating them. Read More about Styles.
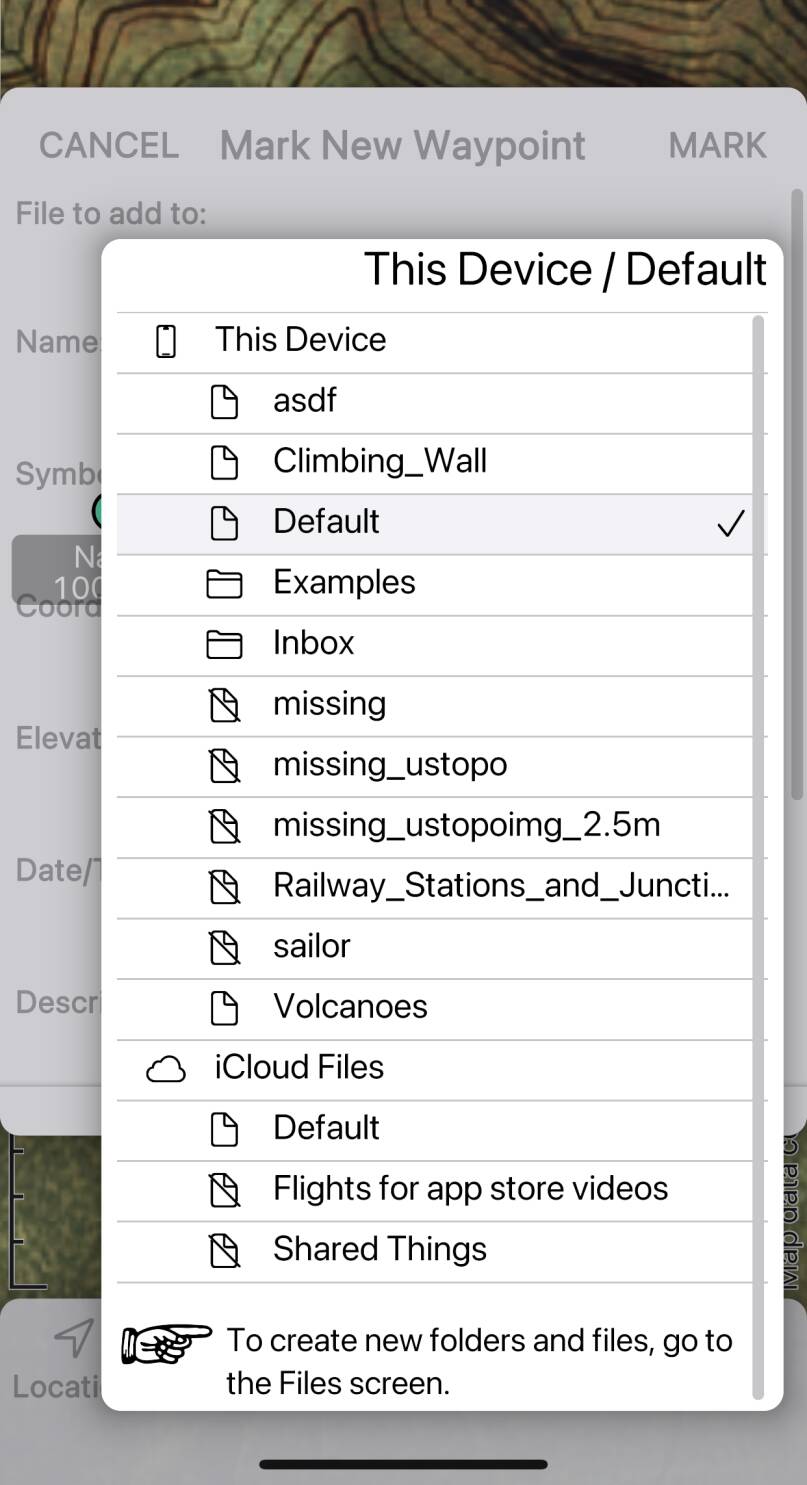
Selecting files for new items
When you mark a new waypoint using , start a track
recording using or draw a route using
, you will be asked to select the file to add the
item to. This list matches what the Files screen shows. The currently-selected
file is indicated in the Files screen by a red star.
These are GPX files
The app uses the GPX file format; the files you work with in the Files screen are
GPX files. This is a standard file format understood by many apps and websites,
so you should be able to share GPX files created in this app with others.
Wikipedia on GPX.
Generally the specific metadata associated with files and items within files are
set by the GPX spec, not chosen specifically for this app.
GPX files contain a collection of waypoints, tracks and routes.
- Waypoints are single points, which may also be referred to as dropped pins, markers or placemarks. In this app, waypoints are created using the button.
- Tracks are sequences of recorded GPS locations, called “Track Points”, that record a trip. Tracks may sometimes be divided into “Track Segments”, though this app has limited support for that. In this app, tracks are created using the button.
- Routes are sequences of “Route Points” that describe a planned trip. In this app, routes are created using the button.
(Tracks and Routes are very similar and it’s not unusual to find that a Track has
been used for a planned route in an imported file, or vice-versa.)
Content of Files
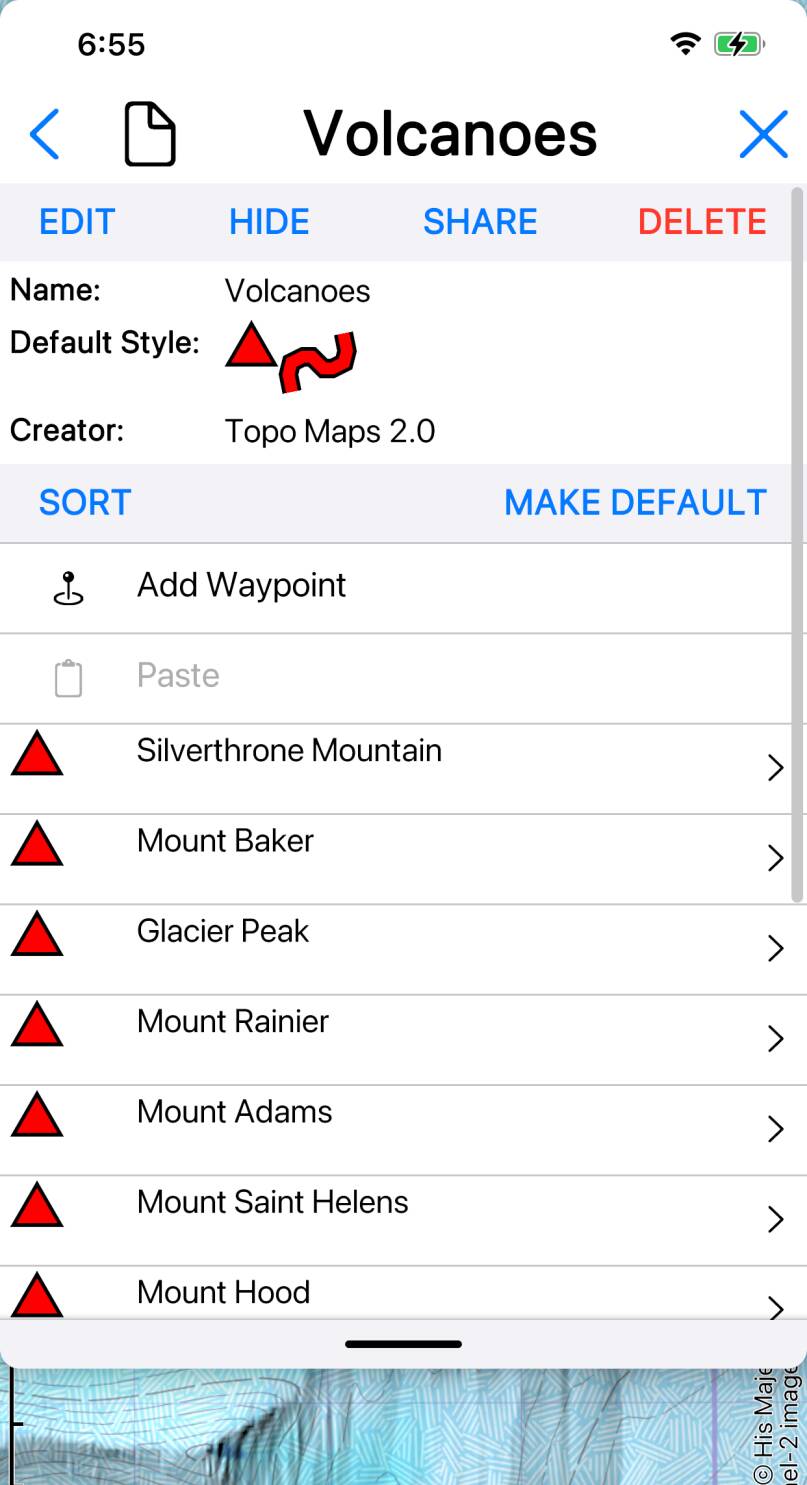
Navigating to a file in the Files screen shows the file’s metadata and its contents.
At the top of the screen, the button exports the
file (see below) and the button deletes it. You
should assume that this deletion is permanent, though if you are lucky it might
be recoverable from the Files app (see below).
File Metadata
At the top of the screen, the button presents a form
where the file metadata (i.e. its name, default style, description and so on) can
be changed.
Showing and Hiding files
Not all files need to be shown on the map at all times; hiding ones you don’t
currently need may make the map less cluttered. Tap on the
and buttons to toggle
visibility.
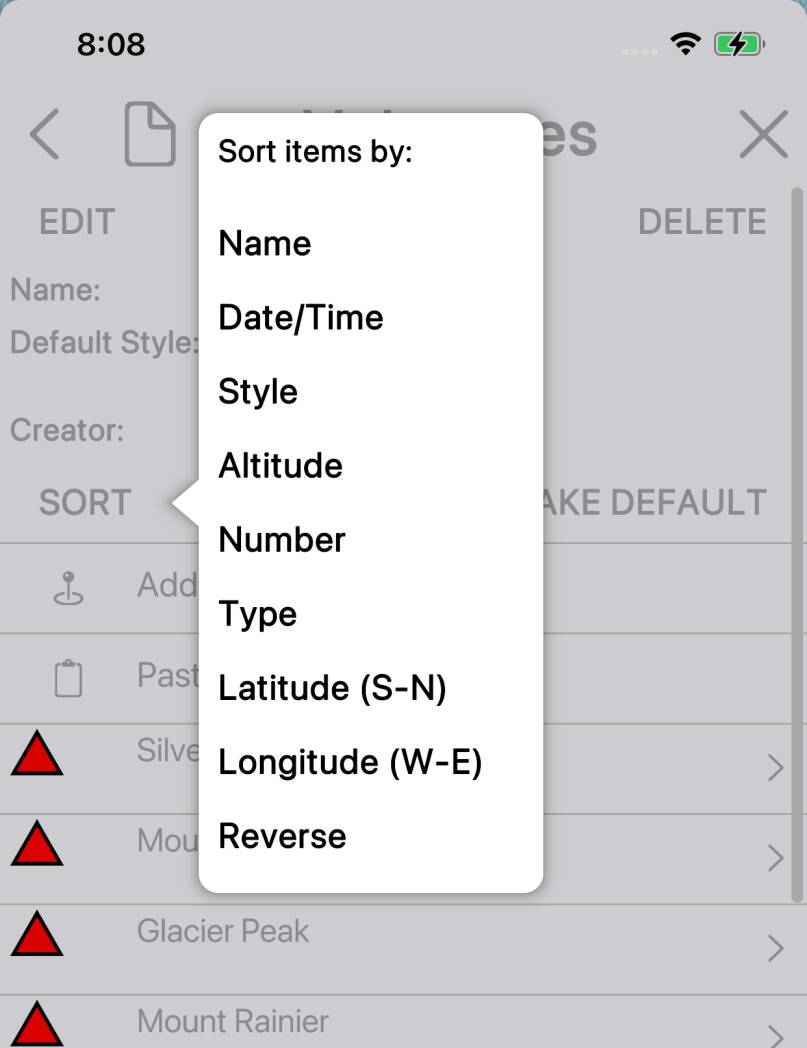
Re-ordering the contents of a file
You can manually re-order the items in a file by dragging them in the list.
The button presents a menu where you can select
various ways to sort the contents of a file.
Note the “Reverse” option at the bottom of the menu. Use this if you want to
sort, for example, from North to South: first sort by “Latitude (S-N)” and then
invoke Reverse.
You may want to sort by two criteria, for example first by Type (i.e. Waypoint /
Track / Route) and then by Name within each Type. To do this, first sort by Name
and then sort by Type. This works because the second sort preserves the ordering
of the first sort when possible.
Adding Waypoints
There is an button at the top of the
file content list. Use this only if you want to add a waypoint whose coordinates
(e.g. latitude and longitude) you are entering manually. Otherwise, find the
location on the map and tap .
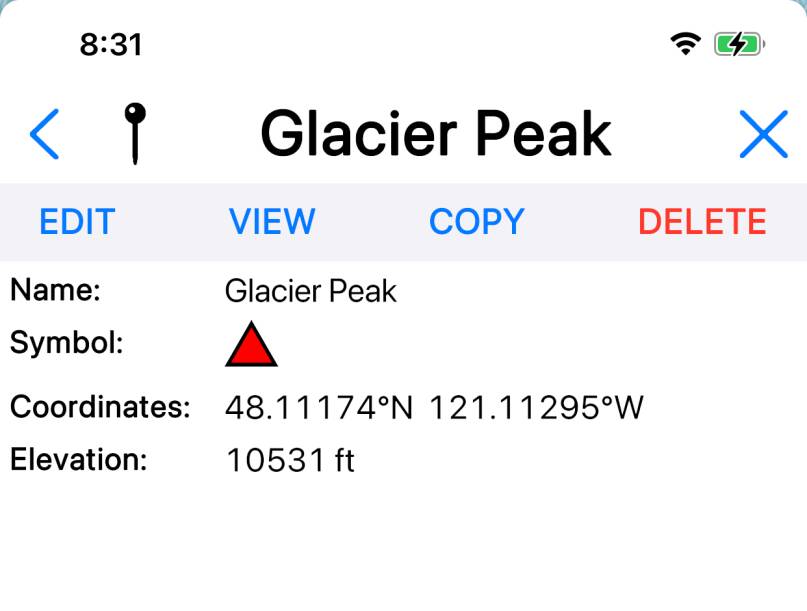
Viewing Items
Tap on an item in the list to view its details. In each case, the item’s metadata
(name, description, etc.) is shown and can be edited by tapping the
button. Tap the button to
center the map on this item.
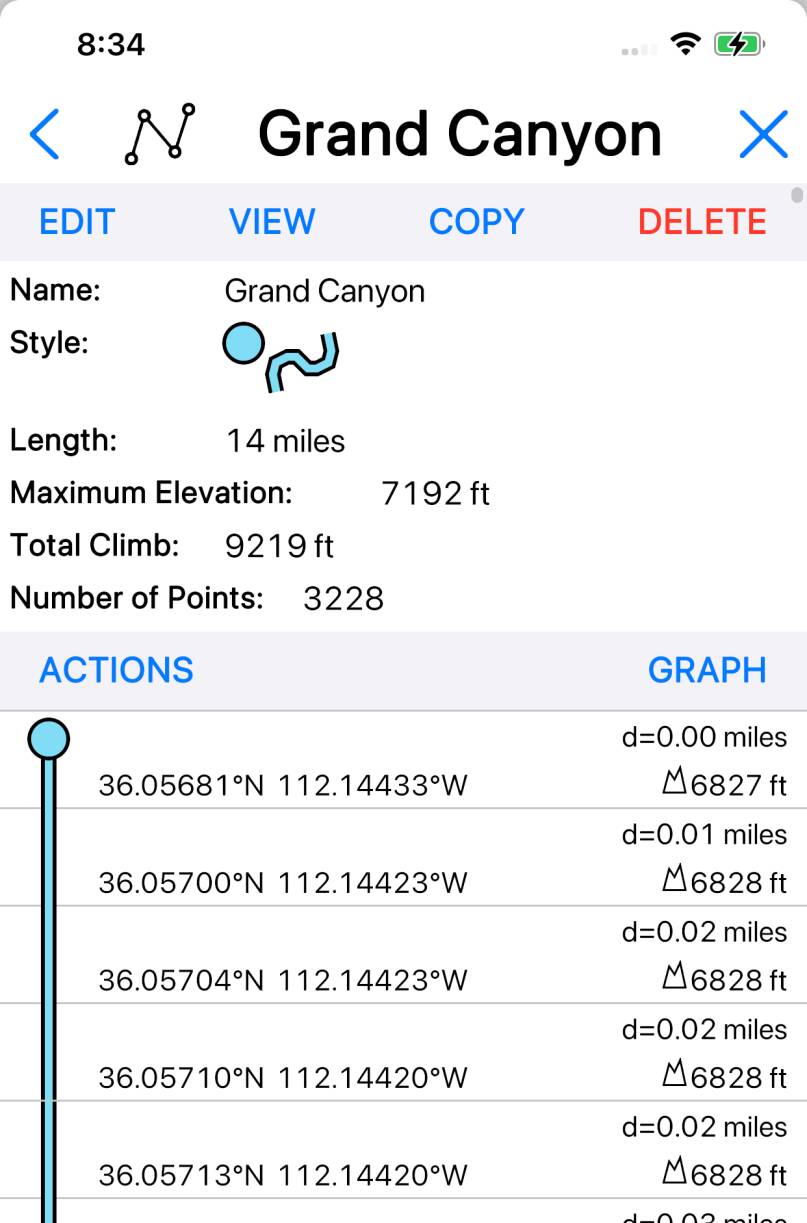
Tracks and routes also show derived data, possibly including duration, average speed,
total climb and so on.
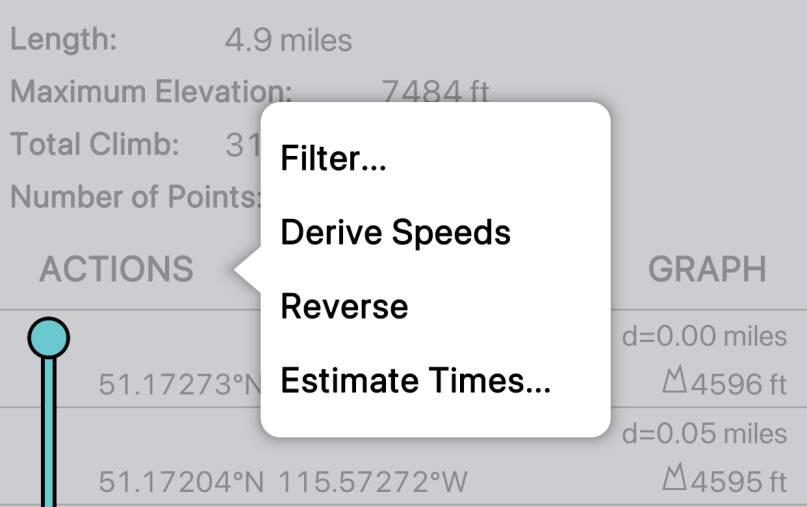
The button presents the same menu of modifications
as the button on the main screen.
The button adds the track or route to the Graph Screen.
Read More about Graphs.
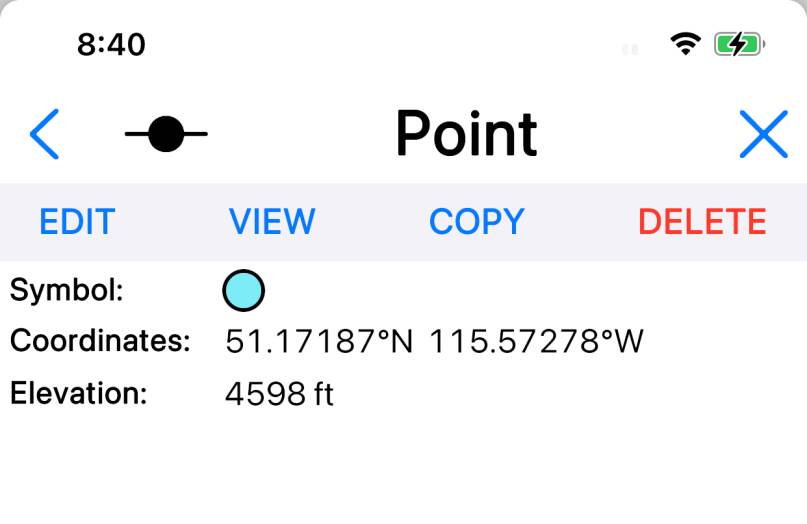
This is followed by the list of track or route points. Tap on a point to show its
details, which can be edited.
Importing and Exporting
Importing files
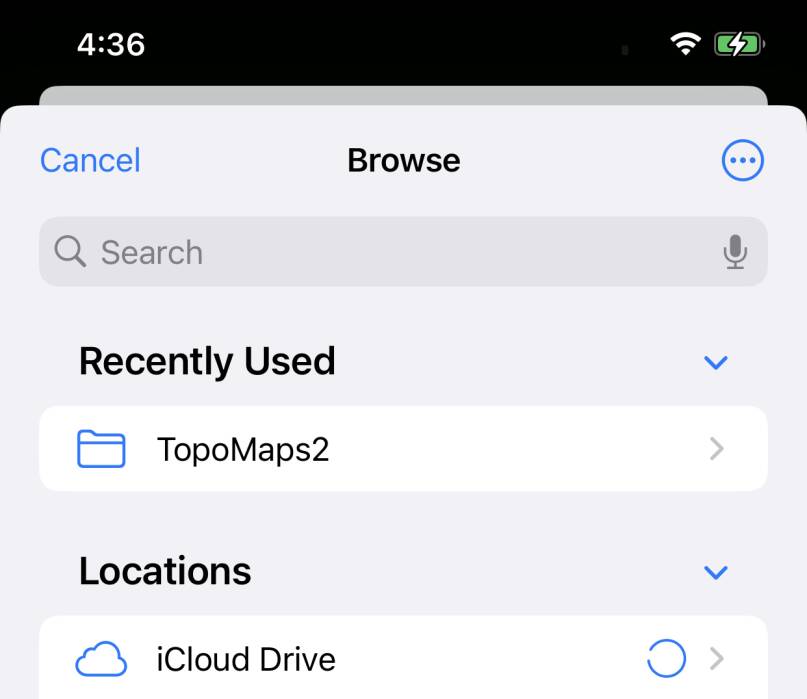
To import a file from elsewhere on your device, navigate to the folder where you
want to put it and tap . This presents
a standard iOS file selection popup. You may be able to import files from cloud
storage providers (e.g. DropBox and similar) and from other apps here, depending
on how they are configured.
To import a GPX file from a website, download it in Safari, then use
and locate the downloaded file
in the “Downloads” folder of the iOS file selection screen.
In other cases, you may be able to transfer a file from another app by using an
export or share feature in that app to send a GPX file to Topo Maps 2. These files
will appear in the “This Device” folder. Look out for a message at the bottom of
the screen telling you that a new file has arrived.
Exporting (Sharing) files
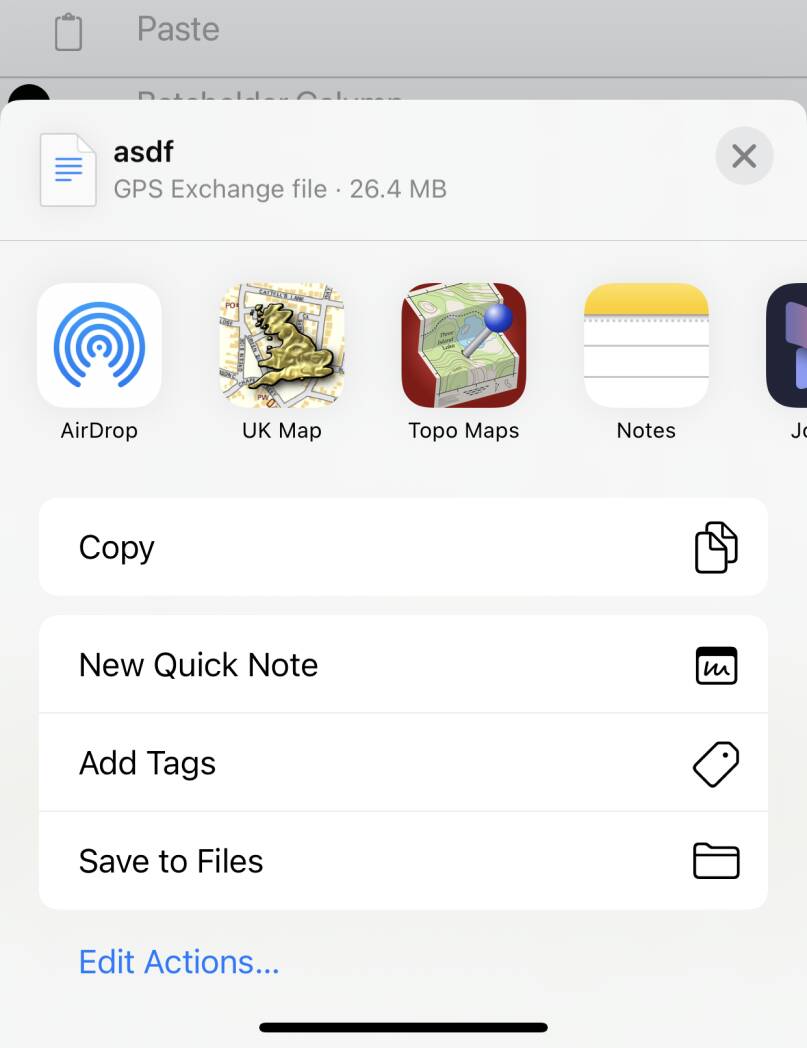
To export a file to another app, to send it as an email attachment, etc., tap
the button. This will present a standard iOS popup to
select the destination. This should list other apps that claim to be able to
receive GPX files, as well as general actions such as AirDrop and Mail.
AirDrop
AirDrop is the recommended method to transfer files between devices if you are
not using iCloud, i.e. if the devices don’t both belong to the same account or
if you have no good internet connection. (AirDrop makes a WiFi connection directly
between the two devices, so should work even if global internet connectivity is
not available; but you probably need to turn WiFi and Bluetooth on, and turn
Airplane Mode off, for it to work.)
To transfer a GPX file using AirDrop, use on the sending device, Choose
AirDrop, and then choose the recipient. On the receiving device a popup should
appear asking how to open the received file. Choose Topo Maps 2.
The Files App
Some actions, such as moving files between folders, cannot be done from within
the app’s Files screen. Use your device’s main Files App in these cases. Within
the Files app, you should find separate folders in “On My iPhone” and “iCloud Drive”
each with a Topo Maps 2 icon, corresponding to the app’s “This Device” and
“iCloud Files” top-level folders.
You may also be able to use the Files app to recover recently deleted files.
Please don’t rely on this always being possible. Note that recently-deleted
individual waypoints, routes and tracks, rather than entire files, may be
recovered from the “recently deleted items” section of the app’s Files screen.
Copy and Paste
It is possible to move waypoints, tracks and routes between files using copy
and paste.
You can copy items by selecting them on the map and then tapping
, or by locating them in in Files screen
and tapping on the item’s details screen.
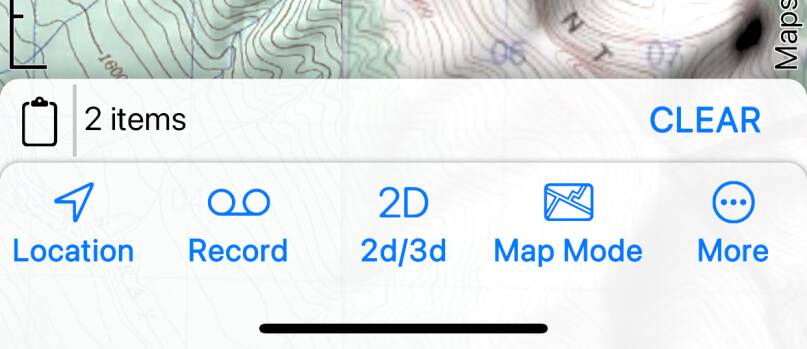
When items have been selected, clipboard information is shown at the bottom of
the screen.
Note that unlike most copy-paste systems, in this app copying a second item
adds to the selection rather than replacing it. You need to tap the
button to clear the clipboard.
To paste, navigate to the file where you want to paste the items in the Files
screen, and tap the button at the top
of the file content list.
Note that the pasted items are likely added at the end of the list where you
may not notice them until you scroll down.


