Panorama Mode uses the app’s terrain (elevation) data to compute what should be
visible from any point on the map. It shows the results in two ways: it tints the
map to make invisible areas monochrome, and it shows a silhouette of the view.
As an example we’ll find the view from North Dome, Yosemite.
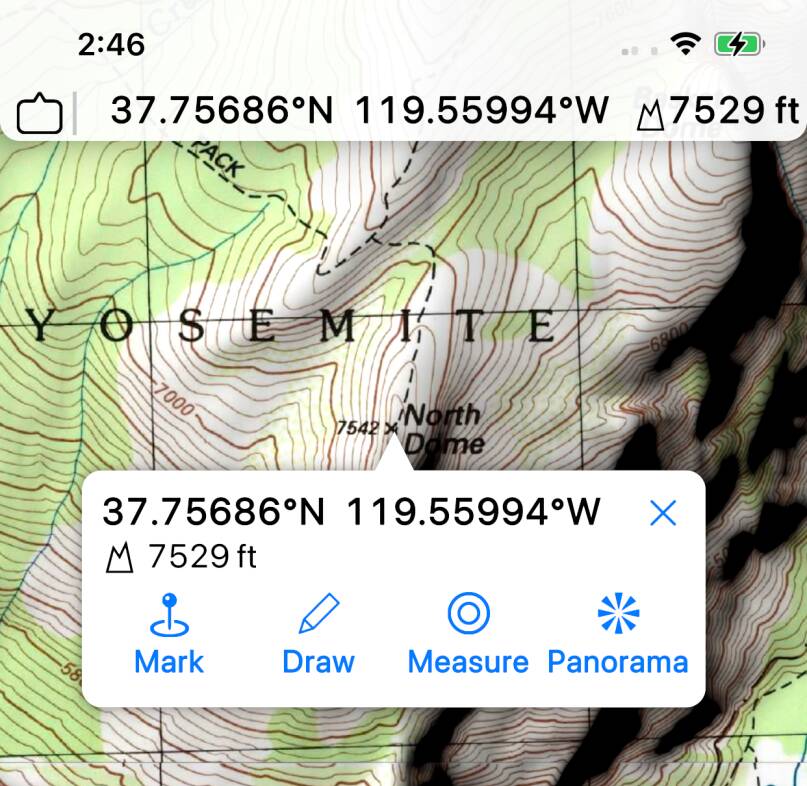
To start, select the point from where you want to compute the panorama and tap
the button. Zoom in and choose the
viewpoint as precisely as possible. It may take a few seconds to compute; a progress
bar is shown.
Note that the app may attempt to compute a panorama even when it doesn’t have
the most detailed terrain data available. For best results, make sure that you
have downloaded detailed maps or imagery for the whole area of interest.
Terrain data is downloaded with detailed maps and imagery.
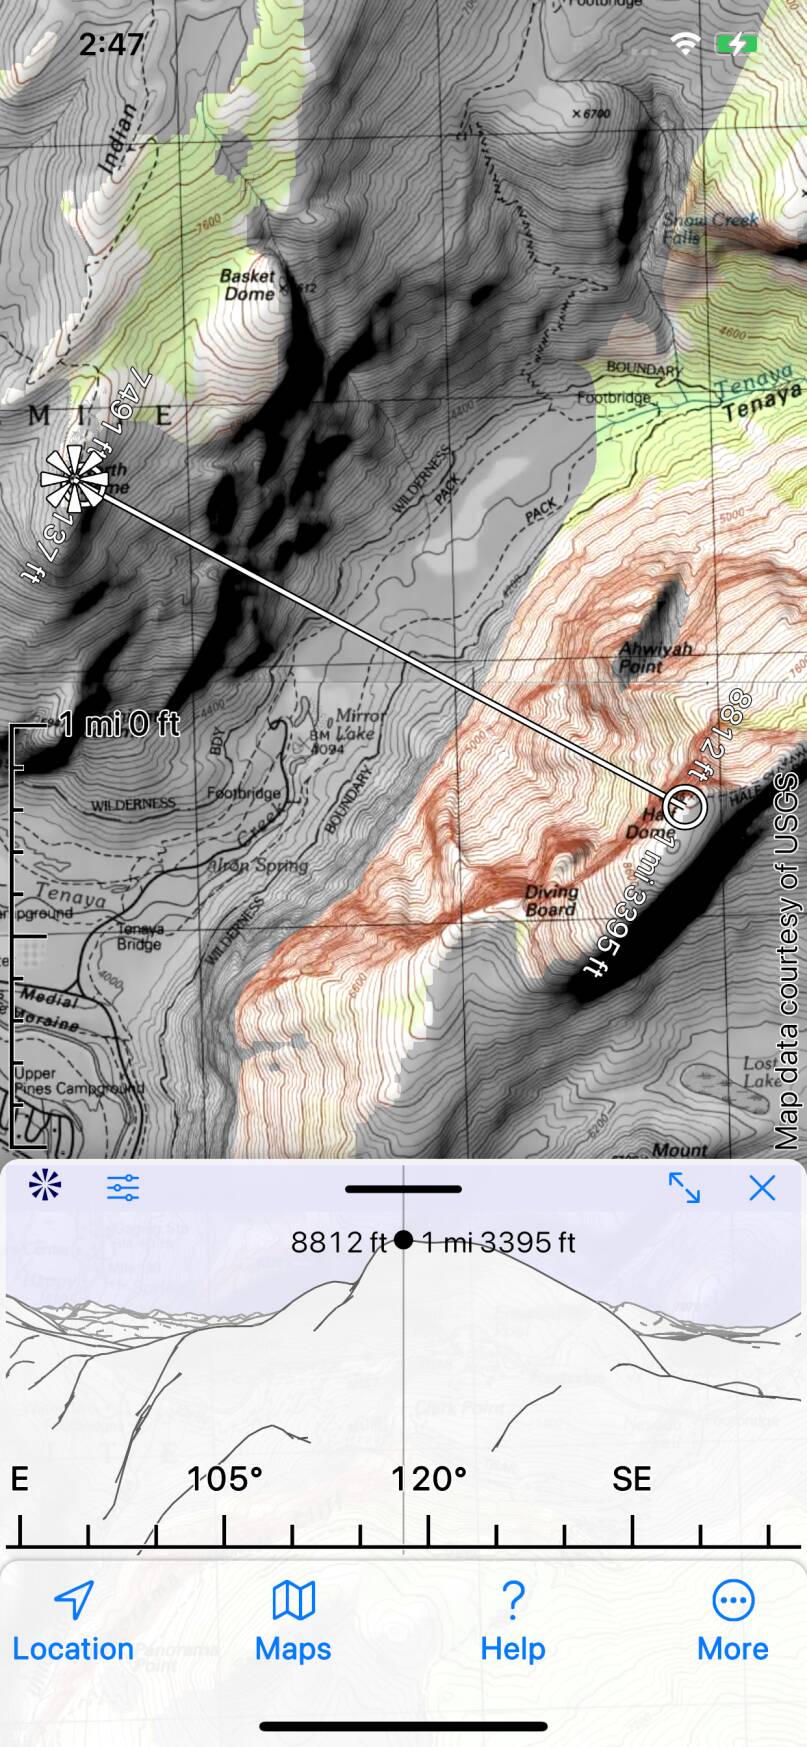
Once the computation is done, the map is tinted; from North Dome you can’t see the
bottom of Yosemite Valley so that is monochrome, but you can see Half Dome beyond
so that is in color.
At the bottom of the screen the silhouette is shown. You can pan and zoom this
to explore the view.
The silhouette window shows a cursor - a vertical line - which can be used to identify features in
the view. The same cursor line and points are also shown on the map, so you can match up
features on the map with the panorama. For example, in the screenshot above you
can match the summit of Half Dome which is reported to be 1 mile 3395 feet away
and to have an elevation of 8812 feet.
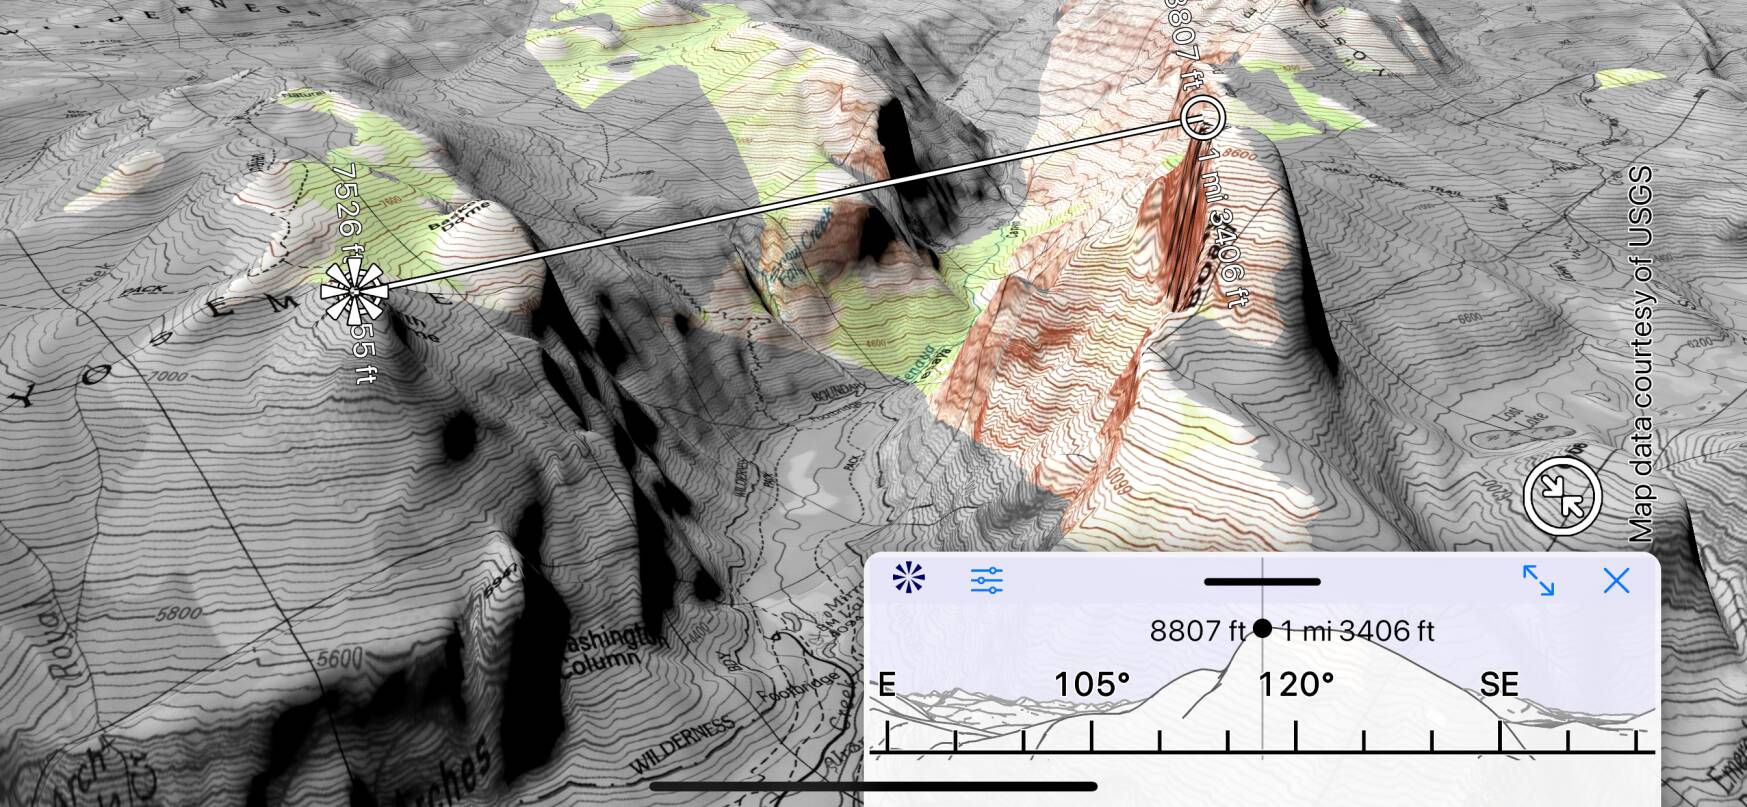
Panorama Mode can also be used in 3D.
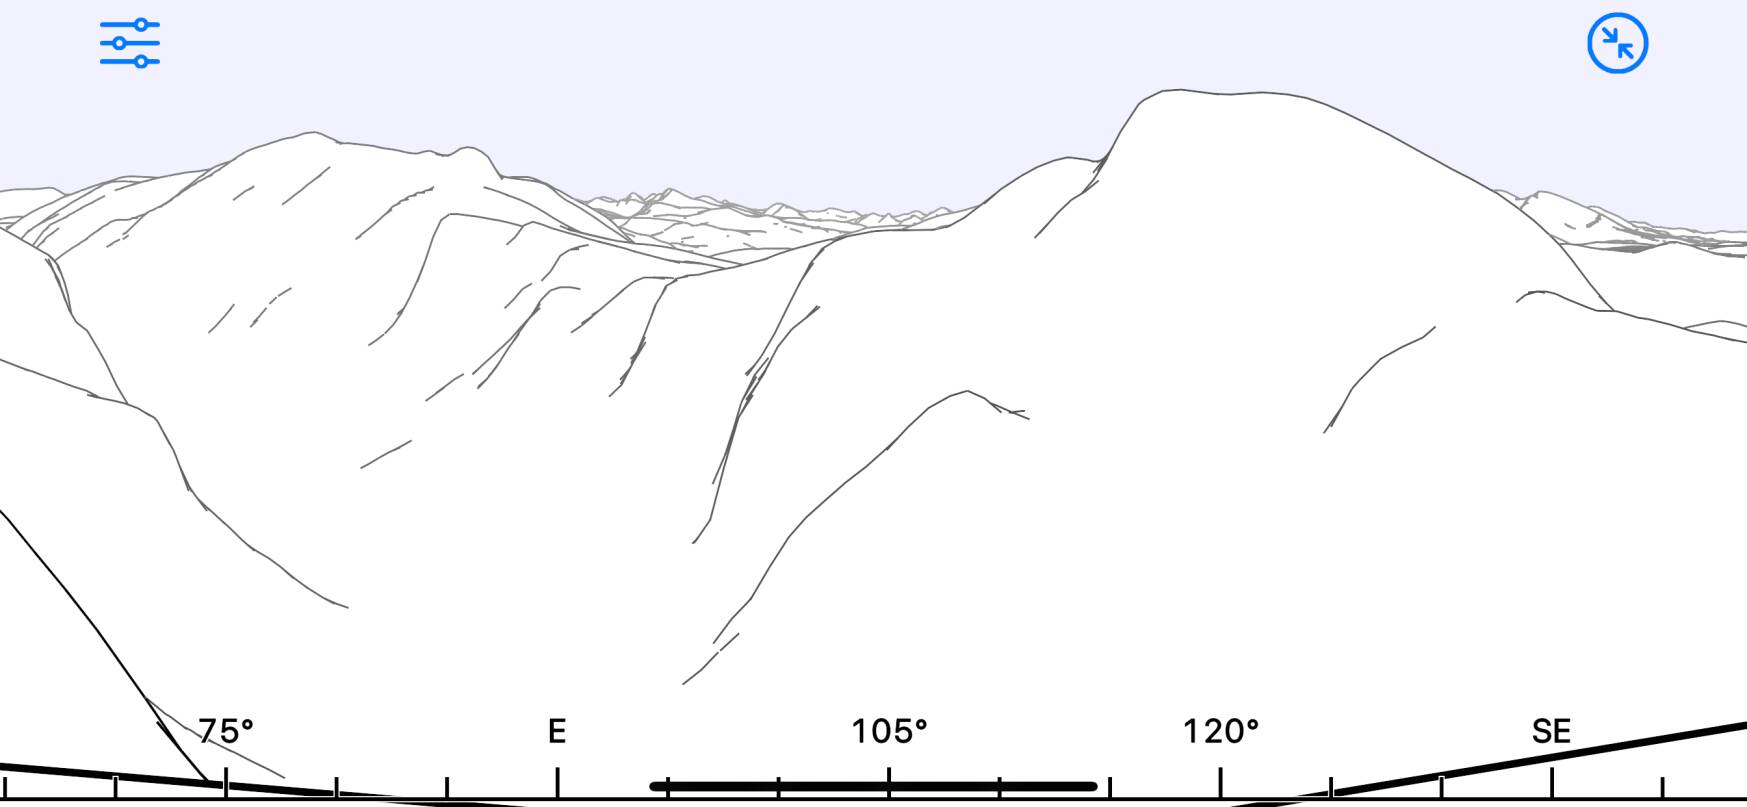
Fullscreen Panorama
Tap to expand the silhouette window to full-screen.
On an iPhone, this works best in landscape orientation.
Labels
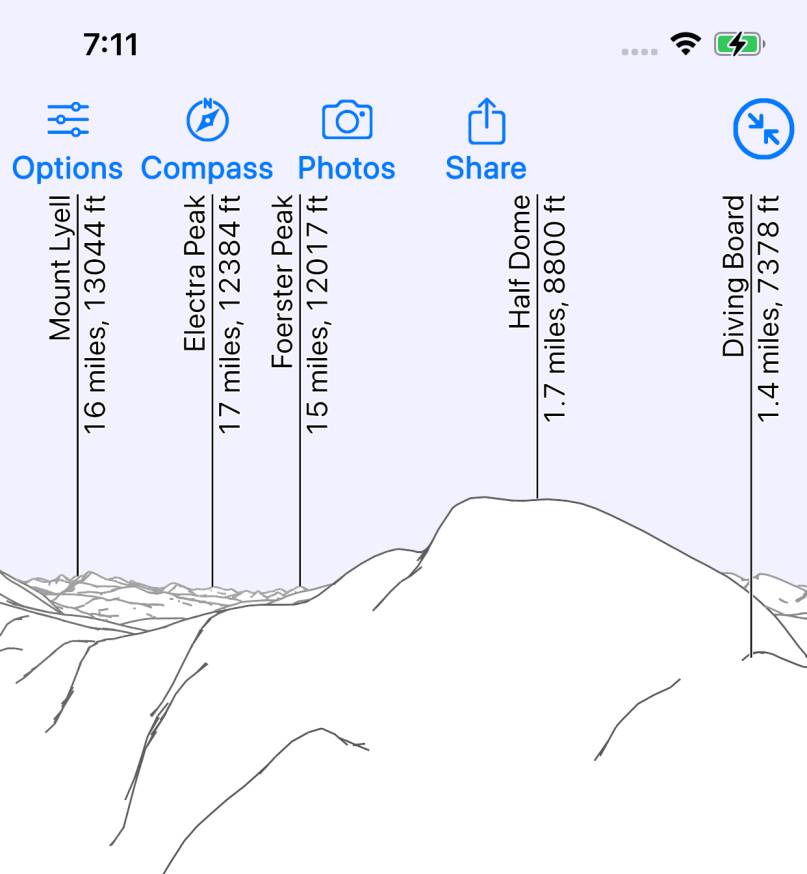
You can show labels, identifying summits and other features visible in the panorama.
The features come from the app’s search data.

Tap to configure what labels are shown.
You can choose to show no labels, all available labels, or to select specific feature
types to display.
You can also choose whether labels include the feature’s distance from the viewpoint
and elevation.
Cursor Settings
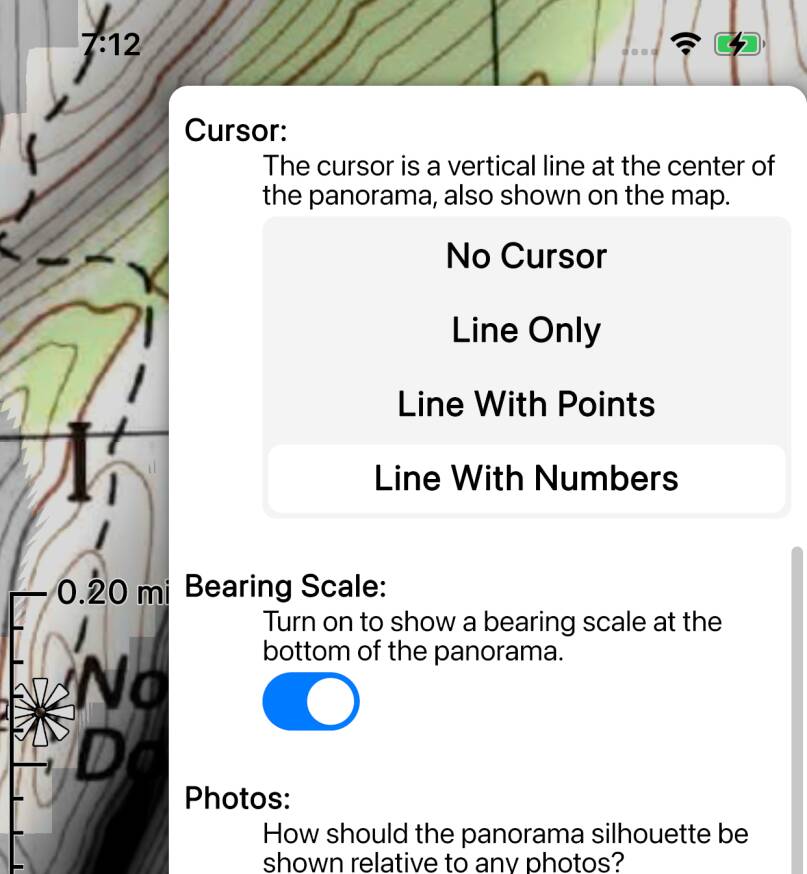
Also in the panorama options, you can change what is shown on the cursor line.
You can also turn the bearing scale at the bottom of the silhouette view on and off.
Compass
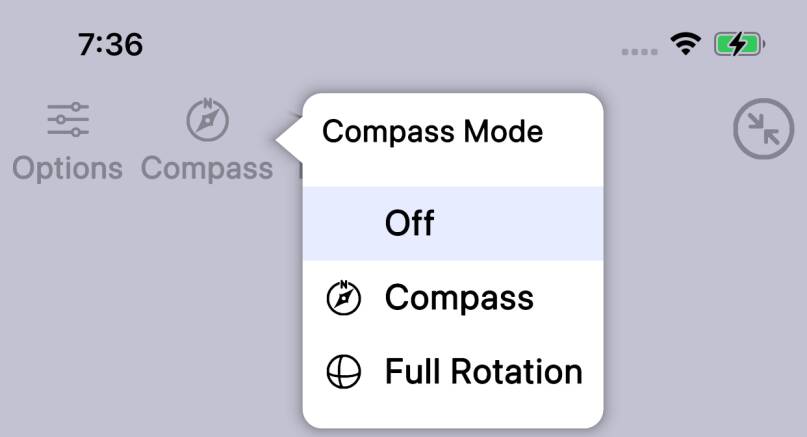
Tap the compass button
to make the app move the panorama to match the direction in which the device is facing.
There are two modes: and
. In Compass mode, the app rotates
only on one axis; in Full Rotation mode is rotates around all three (try it).
Use the usual touch gestures to zoom.
Photos
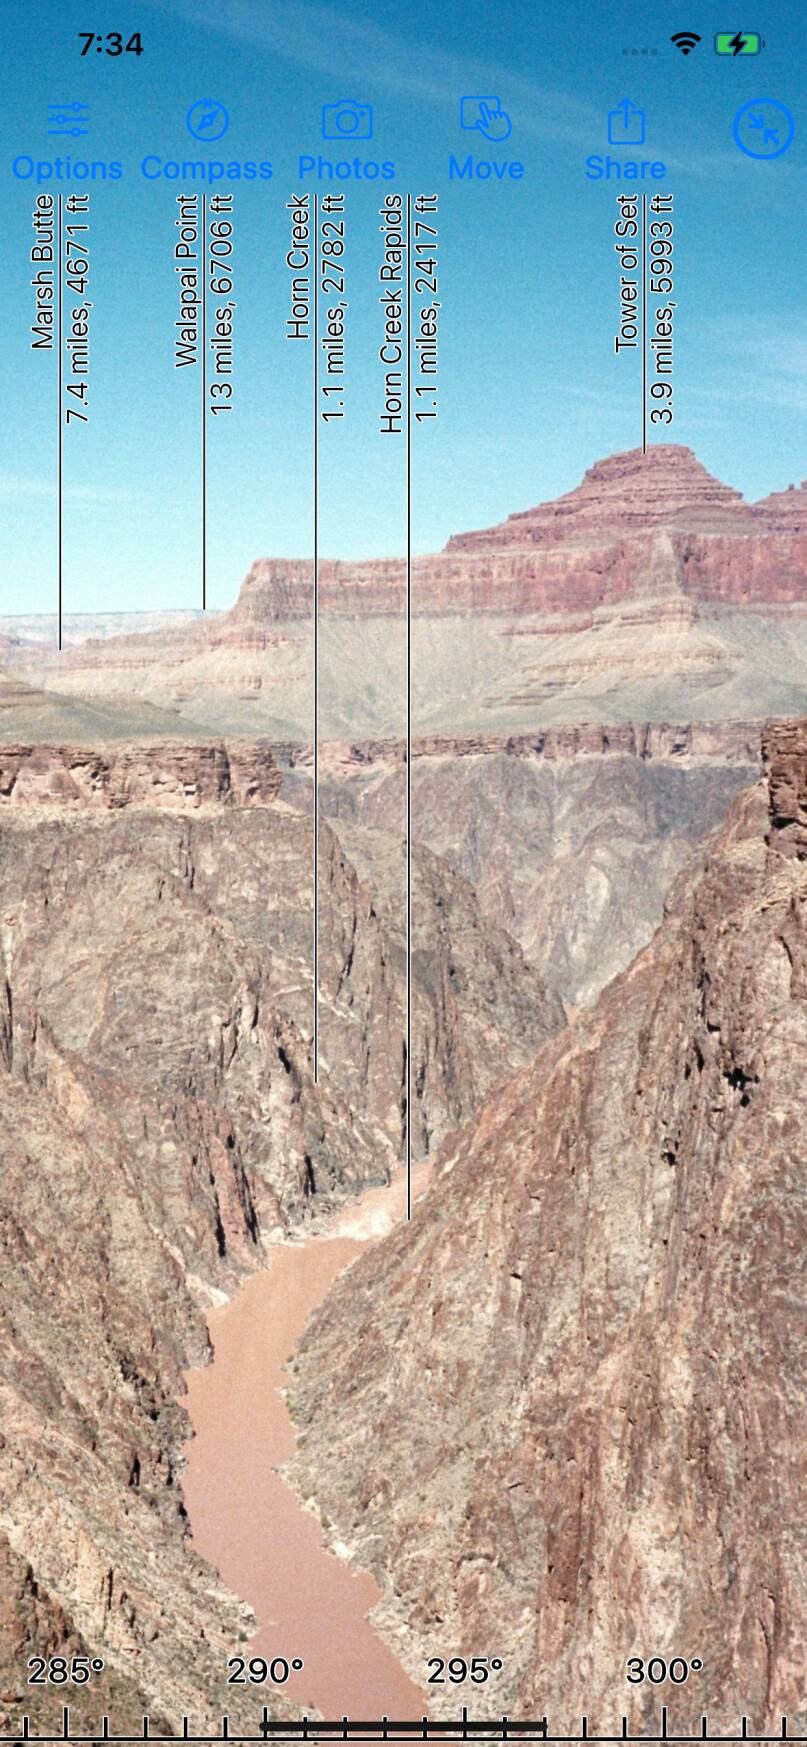
You can add photos to your panorama.
One way to do this is to show your photos on the map (Read More
about Photos), select a photo, and then tap .
The photo will be shown on the panorama; with luck, it will align with the silhouette.
Alternatively, you can add photos by tapping the
button in the Panorama screen. Choose photos that are nearby, from your photo library,
by copy-and-paste from another app, or by entering a web URL; this is the same as adding
photos to waypoints, tracks and routes, described here.
In the quite likely event that your photo doesn’t align perfectly (or at all!) with the
silhouette of the terrain, tap the button.
When this is turned on you can move, zoom and rotate the photos separately from the
silhouette; when it is off, the photos and silhouette move together.
In the Panorama Options, you can select how the silhouette is shown relative to photos.
You can either draw the silhouette normally over the photos, or you can draw it in
“high contrast” mode, which tries to make the silhouette prominent against the photo
background; this is useful when aligning the photo with the silhouette. Or, you can
show only the photos; use this if you just want to add labels to the photo.
Exporting Panorama Images
To export a copy of a panorama, tap the button.
This creates a JPEG image of the currently-visible panorama, including any photos, and
presents a system share screen from which you can save it to your photo library, send
it to another device using AirDrop, attach it to an email and so on.
Height and Distance Settings

The height settings in Options let you adjust the height above terrain level for the
viewpoint and the viewed points that the computation uses. In principle, using a viewpoint
height similar to your eye level and a viewed points height of zero will give the most
accurate results, but in practice it is easier to avoid foreground obstructions if
you use slightly larger values.
The Max Distance control allows you to truncate the panorama, so that for example
mountain peaks a hundred miles away are not shown. Use this to get a more realistic
panorama when atmospheric conditions are not completely perfect. Set it to infinity
to see everything.
Note that these settings do not take effect immediately; they are applied when you next
create a new panorama.
If you find a lot of foreground obstructions in your panorama, zoom in
on the map and find the circle indicating the first obstruction; re-compute the
panorama from that point. If you’re trying to compute the view from a summit, the
terrain data and the map contours may not agree exactly where it is.


